Subtotal $0.00
Theme Setting
Mailchimp Settings
From the Admin menu, navigate to Konta Options. Then go to the Subscribed tab.
Set Your Won Mailchimp API Key
Set Your Won Mailchimp List ID, Then Click on the Save Changes button.

Color Changing Option
Dashboard > Konta Options > General > Theme Primary Color With Konta theme, you can easily modify the colors of various elements such as the header, navigation menu, buttons, links, backgrounds, and more. Whether you prefer bold and vibrant hues or a more subtle and muted palette, Konta theme gives you the flexibility to create a unique and personalized look for your website.

Site Identity
Go to Customizer > site identity > then you can change the website logo and favicon.
Note: logo must must smaller example 200 X 85
After changing the settings, Click on Publish button.

Inner Page Breadcrumbs Settings
Navigate to Pages -> Edit Page.
Then you need to go down and search page Meta option and click
Here you can find the option.
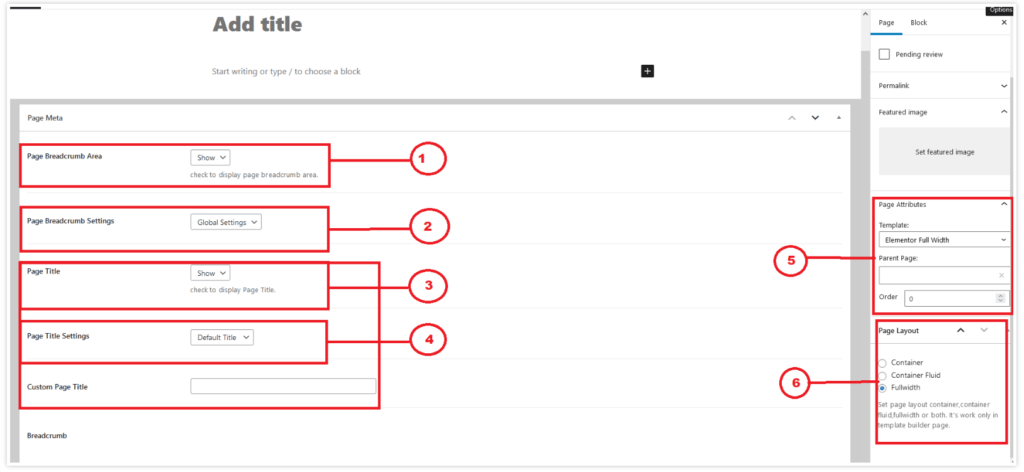
Fig-1: This option for showing Breadcrumbs on top of the pages.
Fig-2,3: This option for showing the page title on Breadcrumb.
Fig-4: If you select default then the page title will show on Breadcrumbs, if you want to show a custom title then you have to change the option from dropdown menu default to custom title and write your custom title to the custom title field.
Fig-5, 6: there has a lot of options you may choose one of them as per your requirements.
Select Header Style
First, you need to change your header information as per your need. To change your header information first, you need to go
There is Two Sytem of Header in Our Theme. One for Default Header and Another for Page Builder Header.
Default Header come from Dashboard > Konta Options > Header >

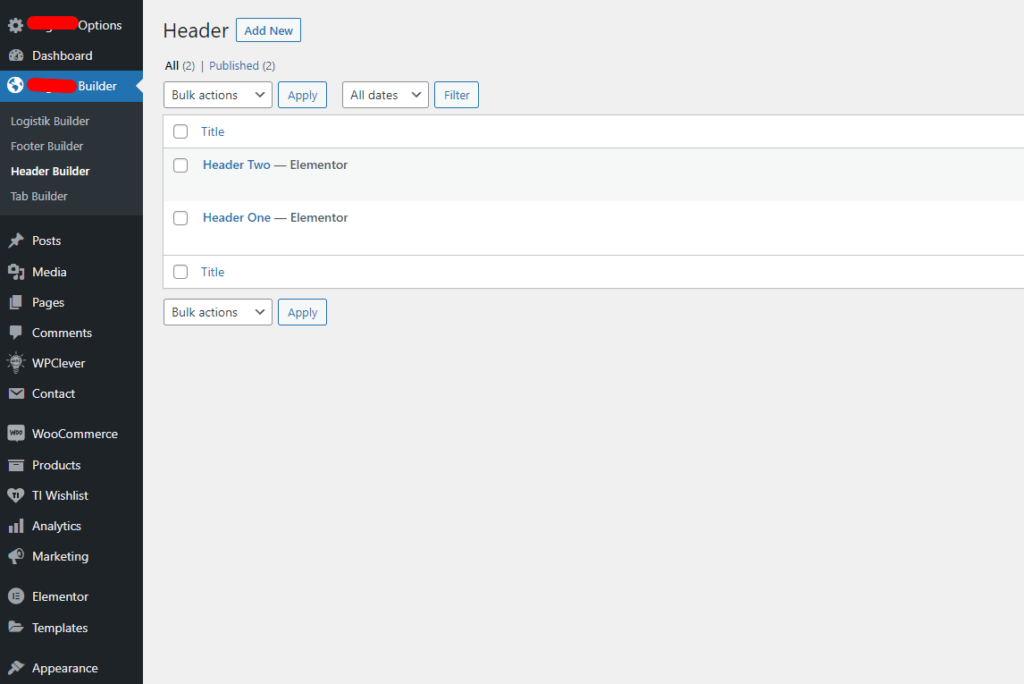
Prebuilt Headers You should go Dashboard > Konta Builder > Header Builder
Header Builder Edit

Footer Settings
There is Two Sytem of Footer in Our Theme.
One for Default Footer and Another for Page Builder Footer.
Default Footer come from Dashboard > Konta Options > Footer >
Footer Width you will get from here:
Dashboard > Appearence > Widgets > Footer Widget Areas

For the Prebuilt Footers You should go Dashboard > Konta Builder > Footer Builder

How to Select Prebuild Header and Footer?
you can change the all information for all the header styles by this procedure.
Navigate to Pages -> All pages there you can see all of the pages which you include.

After clicking Edit With Elementor you can see the below options
Select Header Style

Select Footer Style

Setting Up Your Front Page
Setup The Static Front Page
Go to Pages > Add New and create a page.
Go to Settings > Reading and set the Home page displays to A static page.
Select the page > you created in step one as the Front page, and, if you plan to have a blog as well, choose another page as the Posts page to display your blog posts.

Working With Menus
Creating menus. To create or edit an existing menu you need to go to the wp-admin panel > appearance > menus. There you will see options to create menus, create menu items, and manage menu locations ( assign an exact menu to different locations )
Adding pages to your menu. To add the page to the menu simply choose the menu you want to work with, then in the left part you will see pages, links, posts, and many other things to add to the menu, select the item you want to add to the menu. After adding an item to the menu you can drag and drop your menu items to organize the menu the way you want.

Woocommerce Settings

